Last updated: October 2026
In this Lesson, you will learn how to install OpenShift on a Laptop or Desktop
Understanding The Subject Matter
Learning Red Hat OpenShift is much easier when you have access to a running cluster. Reading about Pods, Deployments, Projects, Routes, and Operators provides a useful foundation, but working with these resources in a real environment helps you understand how the platform behaves.
The challenge is that building a complete OpenShift cluster can require several machines, substantial computing resources, and careful network configuration.
Fortunately, you do not need a dedicated server environment to begin learning.
Red Hat provides OpenShift Local, a development tool that runs a preconfigured OpenShift environment on a supported laptop or desktop. It allows you to practise deploying applications and working with OpenShift resources without first building a full production cluster.
In this tutorial, we will install OpenShift Local, start the local cluster, access the web console, connect through the OpenShift command-line interface, and verify that the environment is working.
The examples focus on Linux, with notes for Windows and macOS users.
1. What Is OpenShift Local?
OpenShift Local is a development environment that runs a minimal, preconfigured OpenShift cluster on your computer.
It was previously known as CodeReady Containers, commonly abbreviated as CRC. The current product name is OpenShift Local.
The environment is intended primarily for development and testing. It allows you to experiment with OpenShift features without provisioning a conventional multi-node cluster.
For example, you can use OpenShift Local to:
- Create Projects and deploy applications.
- Explore Pods, Deployments, Services, and Routes.
- Practise using the
occommand-line tool. - Test container images and application configurations.
- Learn how to inspect workloads and troubleshoot deployment problems.
OpenShift Local is not designed to replace a production cluster. Its resources and architecture are optimised for local development.
Official product information: https://developers.redhat.com/products/openshift-local/overview
2. What You Need Before Installation
Before downloading the software, check that your computer can support the local cluster.
OpenShift Local runs a virtualised OpenShift environment, so your computer needs enough resources for both the host operating system and the cluster.
2.1 Hardware requirements
Check the current OpenShift Local requirements for your operating system and release.
Pay particular attention to:
- CPU: A processor and number of available CPU cores supported by the current release.
- Memory: Enough RAM for the host operating system and the local OpenShift environment.
- Disk space: Sufficient free storage for the OpenShift virtual machine, downloaded software, container images, and application data.
- Virtualisation: Hardware virtualisation and the required virtualisation support must be available and enabled where applicable.
- Internet access: Needed for downloading the software and obtaining required images or updates, unless you have prepared an applicable offline workflow.
Do not assume that the minimum hardware requirements for a full OpenShift cluster are identical to those for OpenShift Local. They are different deployment models.
For the authoritative requirements, consult the current OpenShift Local documentation.
2.2 Supported operating systems
OpenShift Local provides installation options for supported Windows, macOS, and Linux environments. Exact operating system versions and prerequisites can change between releases.
For this walkthrough, we will use a Linux workstation.
If you use Windows or macOS, follow the installation instructions supplied for your host operating system rather than copying Linux-specific commands directly.
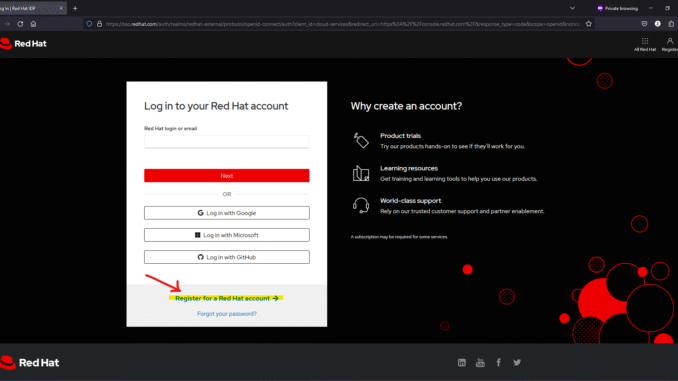
2.3 Red Hat account and pull secret
You will need the appropriate OpenShift Local download and pull secret.
A pull secret contains authentication information used to access protected container image registries and related services. It is not the same as your ordinary Red Hat account password.
Keep the downloaded file secure, and do not publish it in a tutorial, commit it to a public Git repository, or share it in screenshots.
ACTION TIME
3. Download OpenShift Local
The first step is to obtain the installation software from Red Hat.
- Open the OpenShift Local getting-started page.
- Follow the download instructions for your operating system.
- Obtain the appropriate OpenShift Local archive or installer.
- Obtain the required pull secret through the official Red Hat workflow.
- Keep the downloaded files in a convenient directory.
The package format and installation instructions can differ by operating system and release. Use the current download instructions rather than an old CRC package from a previous tutorial.
After downloading the software, extract or install it according to the instructions supplied for your platform.
For the Linux example below, assume the crc executable is available in your terminal.
Check that it runs:
[tekneed@osl ~]$ crc versionIf the shell reports that the command cannot be found, confirm that you extracted the correct package and that the executable is available through your PATH.
4. Prepare the Local Environment
Open a terminal and move to the directory where you want to work.
For example:
[tekneed@osl ~]$ mkdir -p ~/openshift-local
[tekneed@osl ~]$ cd ~/openshift-local
These commands create a working directory for your local OpenShift files. You can use another location if you prefer.
Next, verify that the OpenShift Local command is available:
[tekneed@osl ~]$ crc versionThe command should display the installed version information.
Before continuing, confirm the following:
- The downloaded software matches your operating system.
- Hardware virtualisation is available.
- Your computer has sufficient free memory and storage.
- You have the required pull secret.
- Your network permits the downloads and connections needed by the installation.
Some host environments have additional requirements involving virtualisation software or network management. Follow the prerequisites for your operating system.
5. Run the OpenShift Local Setup
Once the software is installed, use the setup command to prepare the local environment:
[tekneed@osl ~]$ crc setupThe setup process checks and prepares the host environment for OpenShift Local.
Depending on the operating system and release, it may perform checks, configure required components, and prepare the virtualisation environment.
Allow the command to complete before starting the cluster.
If it reports an error, read the message carefully. An error at this stage may indicate a missing prerequisite, unavailable virtualisation support, a permission issue, or an incompatible host configuration.
Do not repeatedly rerun setup without understanding an error that persists.
6. Start the OpenShift Local Cluster
After setup has completed successfully, start the cluster.
You need to provide the pull secret obtained from Red Hat. Assuming the file is named pull-secret.txt and is in your current directory, use:
[tekneed@osl ~]$ crc start -p pull-secret.txtReplace pull-secret.txt with the actual path to your downloaded pull secret.
The command starts the local OpenShift environment. It may take several minutes while the virtual machine and cluster components initialise.
The first startup can take longer than subsequent starts because the environment may need to perform initial configuration and download required resources.
Keep the terminal open while the operation runs, and wait for the command to finish.
Important: Do not share your pull secret or include its contents in command output you publish. The example above passes the file path, not the secret itself, on the command line.
If the startup process fails, retain the error message for troubleshooting. Avoid deleting the local environment or resetting its configuration before you have investigated the cause.
7. Verify That the Cluster Is Running
After the startup command finishes, check the cluster status:
[tekneed@osl ~]$ crc statusThis provides information about the state of the OpenShift Local environment.
You can also inspect the installed version:
[tekneed@osl ~]$ crc versionA successful startup indicates that the local environment has started, but it is still worth checking that the cluster’s components are healthy.
Open the web console next, then use the CLI to inspect the cluster.
8. Open the OpenShift Web Console
The web console gives you a browser-based interface for managing the local cluster.
Run:
crc consoleThe command opens the OpenShift web console in your default browser, where supported.
If the browser does not open automatically, consult the output and current OpenShift Local instructions for the console URL.
You will need the appropriate login credentials for the account you intend to use.
OpenShift Local provides credentials for interacting with the environment. To display the available credentials, run:
[tekneed@osl ~]$ crc console --credentialsFollow the displayed instructions to log in.
For routine application development, a developer account is generally sufficient. Administrative access should be used when you specifically need to practise cluster-level operations.
Do not assume that every local OpenShift release uses the same generated passwords or login details. Retrieve the credentials from your running environment rather than copying them from an unrelated tutorial.
9. Access OpenShift from the Command Line
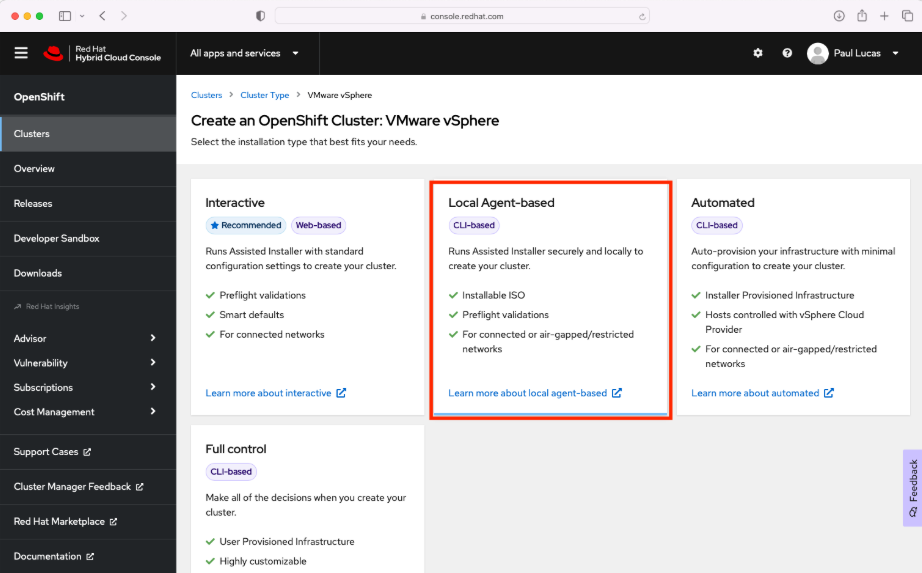
The web console is useful, but learning the oc command-line tool is essential for anyone planning to administer OpenShift or work with it professionally.
OpenShift Local includes the tools needed to interact with the cluster, subject to the installation package and platform.
9.1 Configure the CLI environment
On Linux, run:
[tekneed@osl ~]$ eval "$(crc oc-env)"This configures the current shell environment so that the OpenShift Local command-line tools can be found.
The change applies to the current terminal session. If you open another terminal, you may need to repeat the command.
Check whether the OpenShift client is available:
oc versionThe output should identify the client and, when the cluster is reachable, the server version.
9.2 Log in to the cluster
If you are not already authenticated, use the credentials provided by OpenShift Local.
For example, you can use the developer account with the password displayed by the credentials command:
[tekneed@osl ~]$ oc login -u developerThe CLI will prompt for the password.
Use the actual credentials supplied by your environment. If the login fails, confirm the username, password, API endpoint, and current cluster status.
9.3 Check the available Projects
Once authenticated, run:
[tekneed@osl ~]$ oc get projectsThis lists the Projects that your account is permitted to see.
Projects help organise application resources and provide a scope for access control.
You can also inspect the current user:
oc whoamiThese two commands are useful initial checks when learning to work with OpenShift through the terminal.
10. Inspect the Cluster Nodes and Workloads
Now that you can access the cluster, inspect the resources managed by OpenShift.
List the nodes
[tekneed@osl ~]$ oc get nodesThis displays the nodes registered with Kubernetes, including their readiness state and roles.
OpenShift Local uses a local cluster topology rather than a conventional group of separate production machines. The node information therefore reflects the local environment.
List Pods across namespaces
[tekneed@osl ~]$ oc get pods -AThis displays Pods across the namespaces you are allowed to inspect.
Some platform Pods may take time to start after the cluster initially comes online. If a component is not ready, inspect its status and events before assuming the installation has failed.
Inspect cluster Operators
[tekneed@osl ~]$ oc get coCluster Operators manage important parts of the OpenShift platform.
This command is useful for learning how OpenShift reports the status of its platform services.
Inspect the cluster version
[tekneed@osl ~]$ oc get clusterversionThis provides information about the installed cluster version and update state.
Together, these commands give you an initial picture of whether the environment is available and how its major components are behaving.
11. Deploy a Test Application
A good way to confirm that your local environment is useful for development is to deploy a small application.
You can do this through the web console or by creating Kubernetes resources using the CLI.
For example, create a Project for your experiment:
[tekneed@osl ~]$ oc new-project openshift-labThis creates and selects a Project named openshift-lab, provided it does not already exist and your account has permission to create it.
You can then deploy an application using an image and deployment method supported by your environment.
For a simple container workload, a common starting point is:
[tekneed@osl ~]$ oc create deployment nginx --image=nginxThis creates a Deployment resource that requests an NGINX application workload.
Check its status:
[tekneed@osl ~]$ oc get deployments
[tekneed@osl ~]$ oc get pods
The Pod may take some time to become ready while the image is downloaded and the container starts.
If the Pod does not start, investigate the details:
[tekneed@osl ~]$ oc describe pod <pod-name>Replace <pod-name> with the name returned by oc get pods.
You can also inspect the application logs:
[tekneed@osl ~]$ oc logs deployment/nginxThe example assumes that the image can be retrieved from a registry accessible to your environment. Network restrictions, image availability, security policies, and resource limits can affect the outcome.
This exercise demonstrates the basic relationship between a Project, a Deployment, and the Pod created to run the application.
12. Stop and Restart OpenShift Local
You do not need to keep the local cluster running when you are not using it.
To stop the environment, run:
[tekneed@osl ~]$ crc stopStopping the environment allows you to free resources for other work. It does not mean you have uninstalled OpenShift Local.
When you want to continue practising, start it again:
[tekneed@osl ~]$ crc startOnce startup has completed, check the status and open the console as required.
If you want to remove the local cluster entirely, review the current OpenShift Local documentation first. Reset or deletion operations may remove cluster resources and application data, so do not use them as a routine troubleshooting step.
13. Common OpenShift Local Problems
Even a local cluster can encounter problems. The following checks provide a sensible starting point.
Problem 1: The crc command is not found
Possible causes: The software has not been installed correctly, the archive has not been extracted, or the executable is not on the shell’s PATH.
What to check:
[tekneed@osl ~]$ crc versionConfirm that the executable exists in the expected installation directory and follow the instructions for making it available to your terminal.
Problem 2: Setup fails
Possible causes: Missing host prerequisites, virtualisation problems, insufficient permissions, or unsupported host configuration.
What to check: Review the exact error output and compare your system with the requirements for your OpenShift Local release.
Problem 3: The cluster does not start
Possible causes: Insufficient available memory, virtualisation problems, storage limitations, or a problem with the local environment.
What to check:
[tekneed@osl ~]$ crc statusCheck the available system resources and consult the OpenShift Local troubleshooting documentation before attempting a reset.
Problem 4: The web console is unavailable
Possible causes: The cluster is not fully running, the browser cannot reach the console endpoint, or local networking is not configured correctly.
What to check:
[tekneed@osl ~]$ crc status
[tekneed@osl ~]$ crc console
Review the command output and confirm that the environment is running.
Problem 5: The oc command is unavailable
Possible causes: The OpenShift CLI is not installed or the current shell has not been configured to find it.
On Linux, try:
[tekneed@osl ~]$ eval "$(crc oc-env)"
[tekneed@osl ~]$ oc version
If the problem persists, verify the CLI installation and follow the instructions for your operating system.
Problem 6: An application Pod is not ready
Possible causes: The image cannot be downloaded, the container fails to start, the Pod has insufficient resources, or the workload configuration is incorrect.
What to check:
[tekneed@osl ~]$ oc get pods
[tekneed@osl ~]$ oc describe pod <pod-name>
[tekneed@osl ~]$ oc logs deployment/nginx
Use the output to determine whether the problem concerns image retrieval, scheduling, container startup, or application behaviour.
For additional help, consult the official OpenShift Local getting-started and troubleshooting resources.
Conclusion
OpenShift Local makes it possible to learn OpenShift without first provisioning a complete multi-node cluster.
Once the environment is installed and running, you can practise creating Projects, deploying applications, inspecting Pods, working with the CLI, and exploring the OpenShift web console.
These exercises build the foundation needed to understand how applications run on OpenShift and how administrators investigate common workload problems.
As your experience grows, you can progress to more advanced exercises involving Services, Routes, persistent storage, Operators, resource limits, and application troubleshooting.
Remember that OpenShift Local is a development and testing environment. When you are ready to learn production installation, high availability, and infrastructure management, move on to a suitable multi-node lab or a supported production-style deployment.
Leave a Reply