
Last updated: January 2026
After building a Docker image locally(link), the next big step is pushing it to a registry so it can be pulled, deployed, or shared across environments (dev, staging, production, or even CI/CD pipelines).
In this guide, we will go through everything you need on how to push a Docker image to a registry, from logging into a registry to tagging and pushing your image. Whether you are using Docker Hub, GitHub Container Registry, or a private company registry, the process follows the same pattern.
What Is a Container Registry?
A container registry is a centralized storage location where Docker images (container images) are stored, versioned, scanned, and accessed. Just like Git stores your code, a registry stores your built Docker images.
There are two major categories:
1. Public Registries
- Docker Hub
- GitHub Container Registry
- Google Artifact Registry (public namespaces)
These registries can also be private if you switch to private mode.
2. Private Registries
- Azure Container Registry (ACR)
- Red Hat Quay
- AWS Elastic Container Registry (ECR)
- Google Container Registry
- Harbor (self-hosted)
These registries improve collaboration, enable secure image distribution, and support large-scale CI/CD automation.
Types of Docker Registries Explained
Before learning how to push a Docker image to a registry, you need to understand the major registry options available.
1. Docker Hub (Public & Private Repositories)
- Most commonly used
- Free tier with rate limits
- Easy to set up
- Enterprise-grade
- Integrates with most DevOps platforms
2. Azure Container Registry (ACR)
- Enterprise-grade
- Integrates with AKS, Azure DevOps, AAD
- Can be private, secure, fully managed
3. Red Hat Quay
- Known for security features
- Image vulnerability scanning
- Good for OpenShift environments
4. GitHub Container Registry
- Great for GitHub-based CI/CD
- Supports permissions linked to GitHub teams
Step-by-Step: How to Push a Docker Image to a Registry (Docker Hub)
Let’s start with the simplest and most commonly used registry.
1. Tag your docker image
user1@LinuxSrv:~$ docker images

to-do:01             135ead5aa349        223MB         55.7MB
to-do:latest         cceee9429622        346MB         85.8MB
<docker tag SOURCE_IMAGE:TAG USERNAME/REPO_NAME:TAG>
docker hub requires this format
user1@LinuxSrv:~$ docker tag to-do:01 tekneed/tekneedcr:todo-01user1@LinuxSrv:~$ docker images
i Info → U In Use
IMAGE ID DISK USAGE CONTENT SIZE EXTRA
tekneed/tekneedcr:todo-01 135ead5aa349 223MB 55.7MB
to-do:01 135ead5aa349 223MB 55.7MB
to-do:latest cceee9429622 346MB 85.8MB2. Login to Docker Hub
You can create your Docker Hub account here and create your Private Registry/Repository
When you login, your landing page will be like this below.
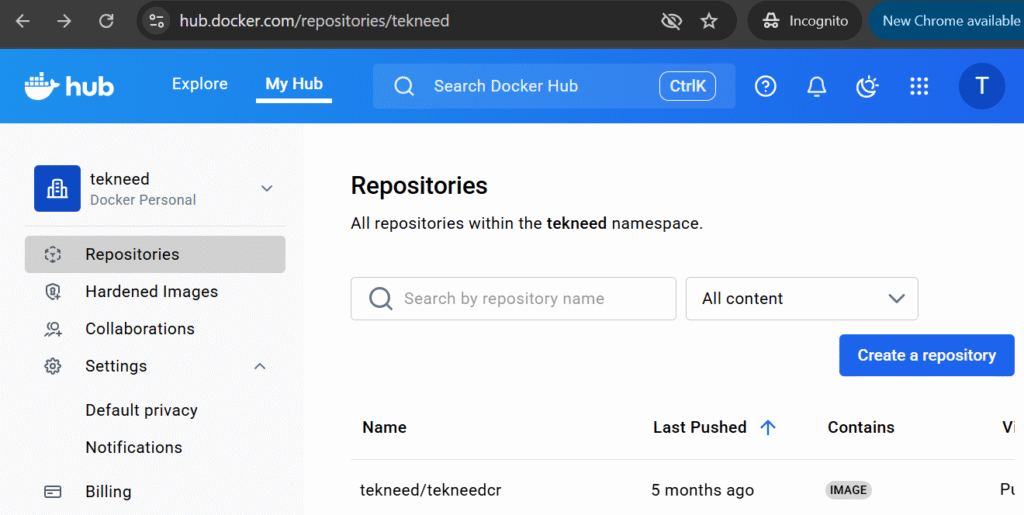
In this case, my repository/registry name is tekneedcr. You can create more than one repository.
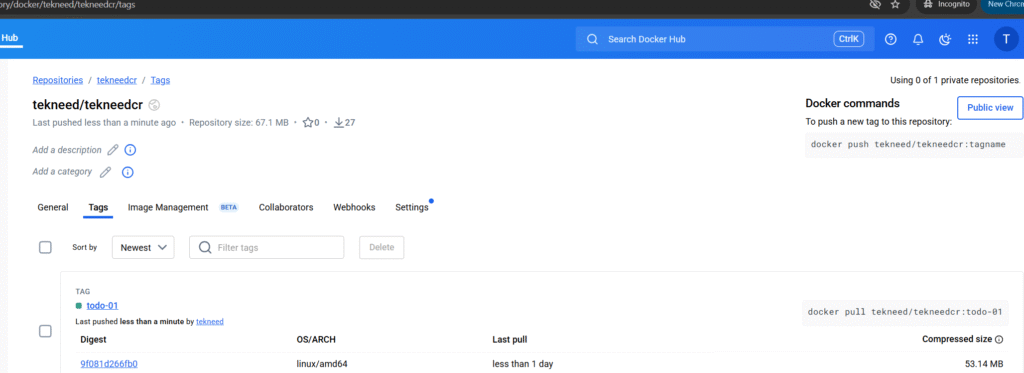
In your repository/registry, you will see the different images you have pushed in there just as shown below. It is usually under Tags. In my case, my image is tekneed/tekneedcr:go-app-211.

docker login -u <username>

user1@LinuxSrv:~$ docker login -u tekneed

i Info → A Personal Access Token (PAT) can be used instead.
         To create a PAT, visit https://app.docker.com/settings


Password:

WARNING! Your credentials are stored unencrypted in '/home/user1/.docker/config.json'.
Configure a credential helper to remove this warning. See
https://docs.docker.com/go/credential-store/

Login Succeeded
3. Push the image
user1@LinuxSrv:~$ docker push tekneed/tekneedcr:todo-01

The push refers to repository [docker.io/tekneed/tekneedcr]
25ff2da83641: Pushed
73c14c904b72: Pushed
1e5a4c89cee5: Pushed
f18232174bc9: Pushed
d6ab2bd98119: Pushed
fc3f66a82ff7: Pushed
dd71dde834b5: Pushed
01: digest: sha256:135ead5aa349944e42baa3488889bb78dbf91e35bcbc118665a17b52bef14691 size: 856
4. Verify from dockerhub that the image has been pushed.
Step-by-Step: How to Push a Docker Image to a Registry – Azure Container Registry (ACR)
1. Tag your image for ACR
Docker hub and ACR have slightly different naming conventions. As of today, there is no button to create repository in the Azure Portal. So when tagging your image, you also need to put the repository name creation into consideration.
Below is the ACR Tagging format
ACR_LOGIN_SERVER/REPOSITORY_NAME:TAG
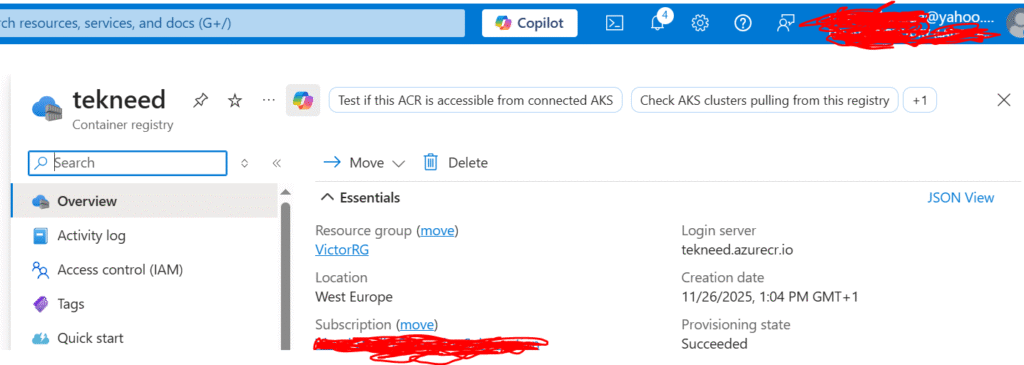
docker tag SOURCE_IMAGE:TAG ACR_LOGIN_SERVER/REPO_NAME:TAGThe ACR_LOGIN_SERVER is the registry name you created on the Azure Portal with “azurecr.io”. For example, I created the registry name, tekneed, hence, my ACR_LOGIN_SERVER is:
tekneed.azurecr.ioNow, let’s tag our image for ACR
user1@LinuxSrv:~$ docker images

to-do:01             135ead5aa349        223MB         55.7MB
to-do:latest         cceee9429622        346MB         85.8MB
docker tag SOURCE_IMAGE:TAG ACR_LOGIN_SERVER/REPO_NAME:TAG
user1@LinuxSrv:~$ docker tag to-do:01 tekneed.azurecr.io/to-do:todo-01
The repository to-do will be created automatically. If you prefer to create a single repository, such as tekneedcr, and store all your images there (instead of using the application name as the repository), that is also possible. In that case, all versions of the to-do application and other applications would live under the tekneedcr repository. However, if you want to store images for other applications separately, you should specify a different repository name when tagging those images, so that all the versions of that application will live under the repository
2. Verify that the image has been tagged for ACR
user1@LinuxSrv:~$ docker images
                                                                                                         i Info →   U  In Use
IMAGE                               ID             DISK USAGE   CONTENT SIZE   EXTRA
tekneed.azurecr.io/to-do:todo-01    135ead5aa349        223MB         55.7MB
tekneed/tekneedcr:todo-01           135ead5aa349        223MB         55.7MB
to-do:01                            135ead5aa349        223MB         55.7MB
to-do:latest                        cceee9429622        346MB         85.8MB
3. Log in to ACR
You have two options:
Option A: Azure CLI (recommended for local use)
# az acr login --name tekneed
Option B: Docker Login (recommended for CI/CD)
# docker login tekneed.azurecr.io
I will be using option A, so I will install Azure cli on the server.
a. Install AZ CLI
user1@LinuxSrv:~$ curl -sL https://aka.ms/InstallAzureCLIDeb | sudo bash

Hit:1 https://download.docker.com/linux/ubuntu noble InRelease
Hit:2 http://archive.ubuntu.com/ubuntu noble InRelease
...................
b. Login to the Azure portal
user1@LinuxSrv:~$ az login

To sign in, use a web browser to open the page https://microsoft.com/devicelogin and enter the code GGANLH7UF to authenticate.

Retrieving tenants and subscriptions for the selection...
.........
c. Login to the registry.
user1@LinuxSrv:~$ az acr login -n tekneed

Login Succeeded
user1@LinuxSrv:~$
If you don’t have an account, you can create one here and then create an Azure container registry (ACR) just as shown below.
4. Push the Image to ACR
user1@LinuxSrv:~$ docker push tekneed.azurecr.io/to-do:todo-01

The push refers to repository [tekneed.azurecr.io/to-do]
fc3f66a82ff7: Pushed
dd71dde834b5: Pushed
1e5a4c89cee5: Pushed
f18232174bc9: Pushed
25ff2da83641: Pushed
73c14c904b72: Pushed
d6ab2bd98119: Pushed
todo-01: digest: sha256:135ead5aa349944e42baa3488889bb78dbf91e35bcbc118665a17b52bef14691 size: 856
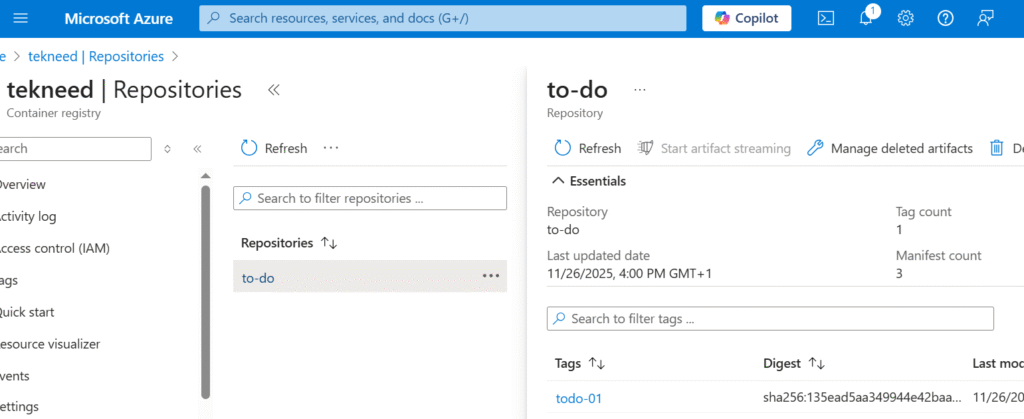
5. Verify that the image has been pushed to ACR
Now that we have looked at how to write a dockerfile and how to push a docker image to a registry, in other lessons, to run a containerized application using docker compose.
Leave a Reply