
Last updated: August 2024
How To Create Users In Linux – Introduction
Hello everyone. I welcome you to the Red Hat Enterprise Linux 9 series administration.
This series is going to be a very interesting one. In this first lesson, we will look at how to create users in Linux.
You can also watch this lesson’s video tutorial here.
Before I continue, if you intend to write the certification exam,
you can get our exam practice or preparation questions using this link, or contact us on info@tekneed.com.
We will be exploring the process of creating and managing users on Linux systems. Understanding user management is crucial for maintaining a secure and efficient system. Let’s dive in!
Types of Users in Linux
Linux systems categorize users into three primary types:
- Root User: Also known as the superuser, the root user has unrestricted access to the entire system. This account is automatically created during the installation of the Linux operating system, similar to the administrator account on Windows systems.
- Regular Users: These are standard user accounts created by the root user. They have limited permissions and are typically used for everyday tasks by individuals like you and me.
- System Users: These accounts are created automatically by certain services or processes running on the system. Examples include the
sshduser for the SSH service and thehttpduser for the HTTP service.
Importance of User Management
Creating and managing users is a critical administrative task. It involves more than just creating accounts; it includes assigning appropriate permissions based on job roles, monitoring user activities, and ensuring system security. Proper user management allows the root user to audit and track user activities, helping to prevent and address any fraudulent actions effectively.
Attributes of a Linux User
When a user is created on a Linux system, their information is stored in the /etc/passwd file. Let’s examine the attributes of a Linux user using an example. Consider the following line from the /etc/passwd file:
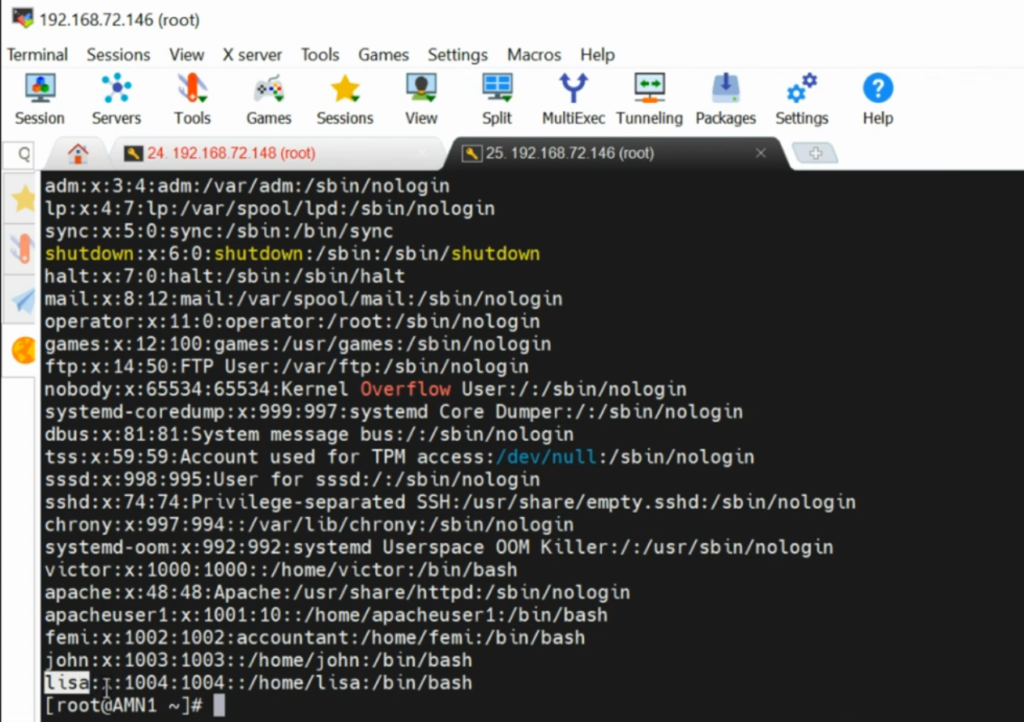
Lisa:x:1004:1004::/home/lisa:/bin/bash- Username (Lisa): This is the account name.
- Password Placeholder (x): Indicates that the user has a password stored in the
/etc/shadowfile. - User ID (1004): Each user has a unique identifier.
- Primary Group ID (1004): Each user is assigned to a primary group, which usually has the same ID as the user ID.
- GECOS Field: Optional field for comments, such as the user’s full name or job description.
- Home Directory (/home/lisa): The directory where the user’s personal files and settings are stored.
- Shell (/bin/bash): The command-line interface that the user interacts with.
How to create users in Linux – RHEL
Creating a User
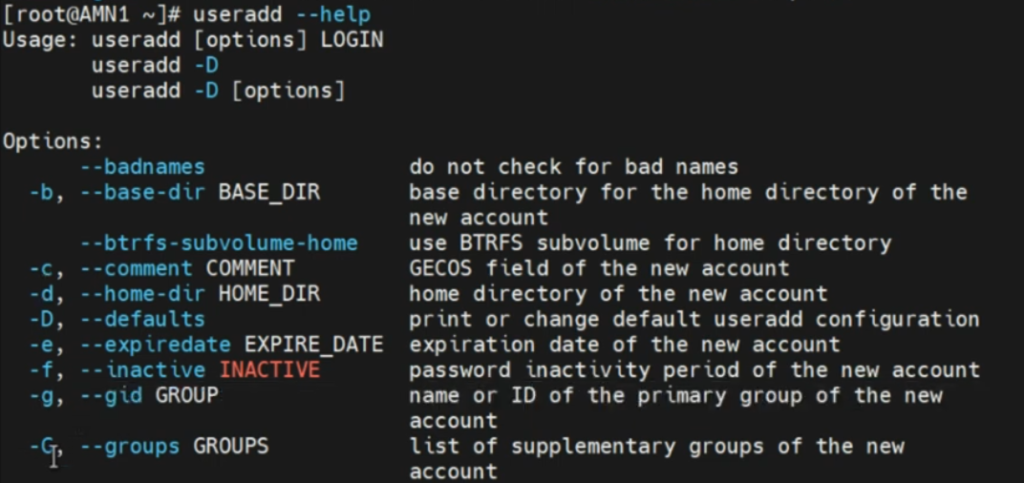
Knowing how to create users in linux is quite easy, you can use the useradd command. For example, to create a user named “tekneed”:
useradd tekneedYou can verify the creation by checking the /etc/passwd file:
cat /etc/passwd | grep tekneedAdding a Password
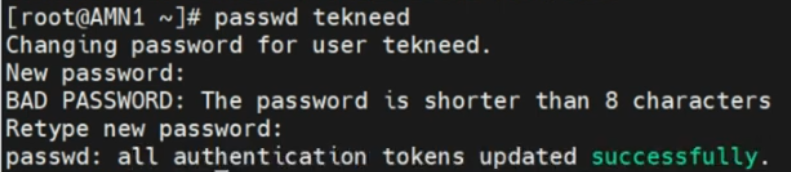
Assign a password to the user using the passwd command:
passwd tekneedYou’ll be prompted to enter and confirm the password.
Switching Users
To switch to a different user, use the su command:
su - tekneedThis allows you to log in as the specified user without logging out of your current session.
Modifying a User
The usermod command allows you to modify user attributes. For example, to change the GECOS field of the user “tekneed”:
usermod -c "IT Department" tekneedDeleting a User
To delete a user and their home directory, use the userdel command with the -r flag:
userdel -r tekneedUser Management on Ubuntu vs. Red Hat
On Ubuntu systems, the adduser command is often preferred over useradd due to its interactive nature. It prompts you to enter details such as the password and user information during the user creation process.
Creating a User with adduser on Ubuntu
adduser tekneed2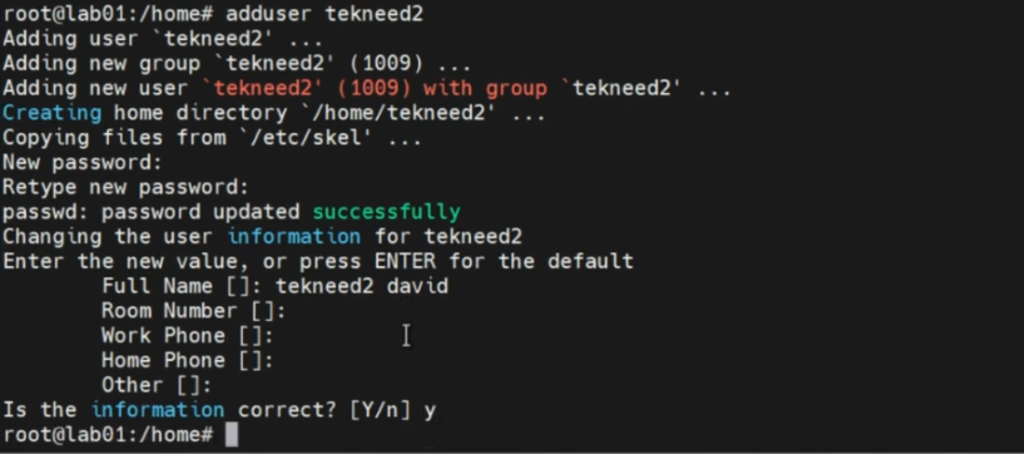
Follow the prompts to complete the user creation process.
Since we do not need all those information; “room number”, “work phone”, “home phone”, “other”, all we need to do is click enter. Then type “Y”, to complete the process.
Creating a User on Ubuntu with Home Directory
To ensure the home directory is created, use the -m flag with useradd:
useradd -m tekneed

Now, use ls to list the users. If the user is created using the command useradd tekneed without using the -m flag, the account created would not be visible because it has no home directory. This is the result of ls after creating the user tekneed2 without using the -m flag. No home directory shows for the user tekneed2

Now, let’s try useradd -m tekneed

We can see that the user created, is now listed on the home directory.
Comparing useradd and adduser
- Red Hat: Both
useraddandadduserperform the same functions. - Ubuntu:
adduseris more user-friendly, whileuseraddrequires additional flags to achieve the same result.
Note: If you create a user and modify the shell using /bin/nologin
that means that you don’t want the user to be able to log in via a shell.

Summary
Managing users on Linux involves understanding the different types of users, their attributes, and the commands required to create, modify, and delete user accounts. Whether you’re using Red Hat or Ubuntu, mastering these commands is essential for effective system administration.
Commands Recap
- Create User:
useradd,adduser - Add Password:
passwd - Switch User:
su - Modify User:
usermod - Delete User:
userdel
So, this is how to create users in linux on both RHEL and ubuntu systems.
Thank you for joining today’s lesson on how to create users in Linux. Don’t forget to like, share, and comment if you found this guide helpful. Check out more info on our Youtube page too. Stay tuned for more informative content!
Happy Learning!
Leave a Reply