
Last updated: April 2025
In this lesson, you will learn how to create insecure route and create secure route with certificate in OpenShift
Understanding The Subject Matter
Recap of One of the Previous Lesson
In one of our previous tutorial, we learned how to create internal and external services in OpenShift. One of the external services we explored was the NodePort, which allows us to access applications externally using the node’s IP address.
But let’s face it—if you’re running a customer-facing web application, like an e-commerce platform (think Amazon), users won’t be accessing your app by typing an IP address. That’s where Routes come in.
What is a Route in OpenShift?
A Route exposes your OpenShift service to external users by creating a DNS entry. This provides a user-friendly way to access applications without relying on IP addresses.
By default, the DNS for a route is generated in the format:
<route-name>-<project-name>.<default-domain>
The default domain is defined in the routing Config section of OpenShift’s master-config.yaml and can be customized to fit your environment.
While Services are designed for internal communication within the cluster (like between pods), Routes are meant for external access.
OpenShift Routes vs. Kubernetes Ingress
OpenShift Routes are somewhat similar to Kubernetes Ingress resources. Both can route external traffic into the cluster and support protocols like:
- HTTP
- HTTPS
- TLS with SNI
- TCP & UDP
But OpenShift provides more fine-grained control with built-in route types and TLS termination strategies.
Types of OpenShift Route Security
OpenShift supports two types of routes which are the secure route and the insecure route. There are three types of secure routes:
1. Edge Termination
- TLS encryption occurs between the client and the router only.
- Traffic from the router to the pod is unencrypted.
- Certificates are configured on the router (OpenShift can also assign self-signed ones if none are provided).
2. Passthrough
- TLS is preserved all the way from the client to the application pod.
- The router doesn’t terminate TLS; instead, the application handles it.
- Certificates must be mounted as secrets in the pod.
3. Re-encryption
- TLS is used from client to router, and also from router to pod, but with different certificates.
- Suitable when you want double encryption with controlled termination points.
Action Time
Step By Step Guide of How To Create Insecure Route
1. Lets create a pod or this purpose
[victor@sno ~]$ oc get pods

No resources found in app-project namespace.
[victor@sno ~]$ oc new-app --image=nginx --name=nginx-app

warning: Cannot find git. Ensure that it is installed and in your path. Git is required to work with git repositories.
--> Found container image ac8efec (7 days old) from Docker Hub for "nginx"

    * An image stream tag will be created as "nginx-app:latest" that will track this image

--> Creating resources ...
    deployment.apps "nginx-app" created
    service "nginx-app" created
--> Success
    Application is not exposed. You can expose services to the outside world by executing one or more of the commands below:
     'oc expose service/nginx-app'
    Run 'oc status' to view your app.
2. Verify that the pod has been created
[victor@sno ~]$ oc get pods

NAME                       READY   STATUS    RESTARTS   AGE
nginx-app-8d974d76-n97wm   1/1     Running   0          9s
Because we are using the oc new-app command, the service will also be created.
[victor@sno ~]$ oc get svc

NAME        TYPE        CLUSTER-IP    EXTERNAL-IP   PORT(S)   AGE
nginx-app   ClusterIP   10.217.5.39   <none>        80/TCP    16s
3. Create a route – This basically means exposing a service
[victor@sno ~]$ oc get routes

No resources found in app-project namespace.
[victor@sno ~]$ oc create route edge nginx-app --service nginx-app
route.route.openshift.io/nginx-app created[victor@sno ~]$ oc get routes
NAME HOST/PORT PATH SERVICES PORT TERMINATION WILDCARD
nginx-app nginx-app-app-project.apps-crc.testing nginx-app 80-tcp edge None4. Test that the application is reachable
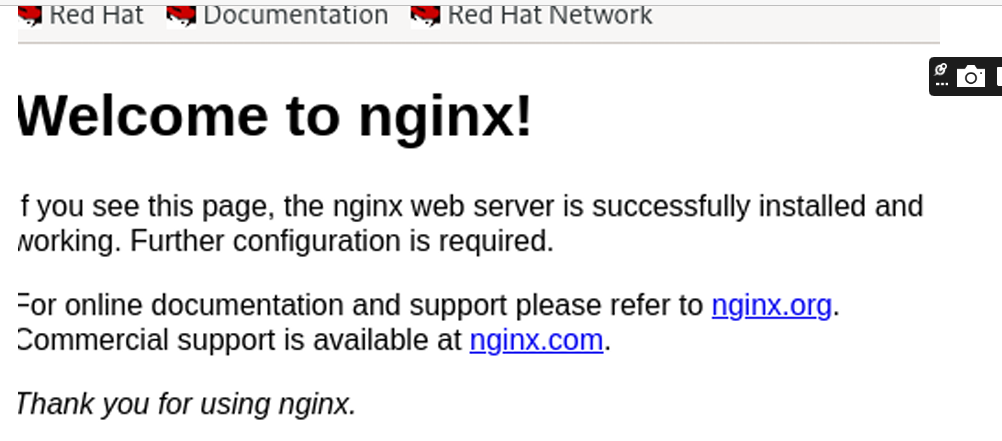
[victor@sno ~]$ curl https://nginx-app-app-project.apps-crc.testing

<!DOCTYPE html>
<html>
<head>
<title>Welcome to nginx!</title>
...........
<body>
<h1>Welcome to nginx!</h1>
<p>If you see this page, the nginx web server is successfully installed and
working. Further configuration is required.</p>
You can also verify via the GUI by launching the URL on browser
Step By Step Guide of How To Create a Secure Route With Certificate In OpenShift
We will start by creating the Edge route.
Step by Step Guide of How to Create an Edge Secure Route In OpenShift Cluster
Following the Nginx pod we created in step 1 above, we can now create the edge route
1. Create an Edge route
[victor@sno ~]$ oc create route edge nginx --service nginx-app2 --hostname=nginx
tekneeed.apps-crc.testing

route.route.openshift.io/nginx created
2. Verify that the route has been created
[victor@sno ~]$ oc get routes

NAME    HOST/PORT                         PATH   SERVICES     PORT    WILDCARD
nginx   nginx-tekneeed.apps-crc.testing
TERMINATION nginx-app2   <all>   None edge
3. Test you can connect to the application.
copy the URL and paste it on a browser
https://nginx-tekneeed.apps-crc.testing
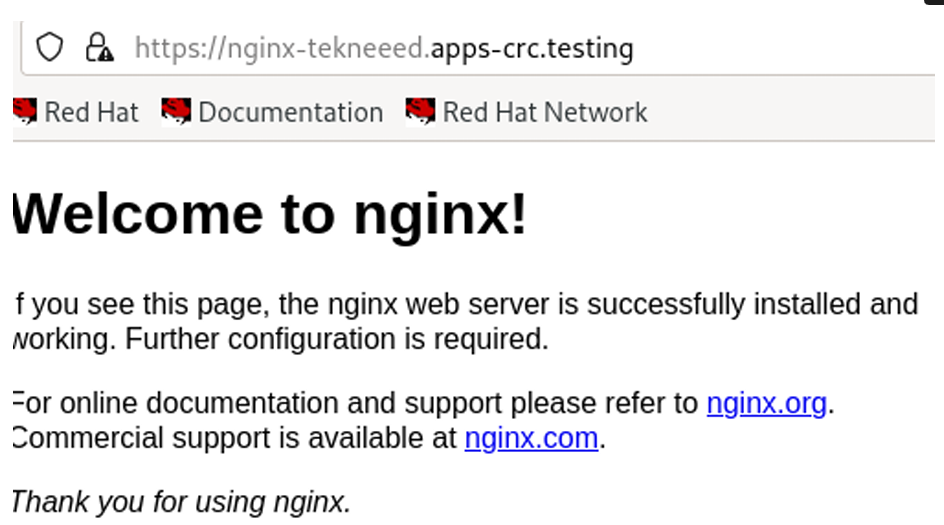
This might show “certificate not secure”, and this is because it is using a self signed certificate done by OpenShift and not the common/known CA. You can trust the certificate for the URL to show that it is secure
If you test this using the curl command on the terminal, because the CA is not known, you will not be able to access the application as shown below with the error “SSL certificate problem” except you use an option to bypass the check.
[victor@sno ~]$ curl https://nginx-tekneed.apps-crc.testing

curl: (60) SSL certificate problem: self-signed certificate in certificate chain
More details here: https://curl.se/docs/sslcerts.html

curl failed to verify the legitimacy of the server and therefore could not
establish a secure connection to it. To learn more about this situation and
how to fix it, please visit the web page mentioned above.
Step By Step Guide of How to Create a Pass-through Secure Route With Certificate in OpenShift Cluster
To create a pass-through route, we need a TLS/SSL certificate. You can either buy which is very common or generate one. In this course, we will be generating one using the openssl tool.
Step by Step Guide of How To Generate TLS/SSL Certificate Using openssl
1. create a configuration file, a certificate signing request (CSR) information to be able to generate your SSL
# vi certificate/app.config[req]
default_bits = 2048
prompt = no
default_md = sha256
req_extensions = req_ext
x509_extensions= v3_ca
distinguished_name = dn
[dn]
C = NG
ST = Lagos
L = Island
O = TekNeed
OU = IT
emailAddress = info@tekneed.com
CN = nginx-app-app-project.apps-crc.testing
[ v3_ca ]
subjectKeyIdentifier=hash
authorityKeyIdentifier=keyid:always,issuer:always
basicConstraints = CA:true
[req_ext]
subjectAltName = @alt_names
[alt_names]
DNS.1 = info.tekneed.com
# cd certificate/app.config2. Generate the private key, RSA, with the name app.key
[victor@sno certificate]$ openssl genrsa -out app.key 2048[victor@sno certificate]$ ls
app.config app.key3. Generate a CSR certificate, with the name, app.csr.
[victor@sno certificate]$ openssl req -new -key app.key -out app.csr -config app.config4. Generate a root certificate, with the name, app.crt
[victor@sno certificate]$ openssl req -x509 -sha256 -nodes -new -key app.key -out app.crt -config app.config[victor@sno certificate]$ ls
app.config app.crt app.csr app.key5. Generate the final certificate, which is the main SSL certificate, with the name, main.crt
[victor@sno certificate]$ openssl x509 -sha256 -CAcreateserial -req -days 365 -in app.csr -extfile app.config -CA app.crt -CAkey app.key -out main.crt[victor@sno certificate]$ ls
app.config app.crt app.csr app.key main.crtNow that we have our SSL certificate; let’s continue with the step by step guide of how to create the pass-through route.
1. Create a secret using the private key and the main certificate
[victor@sno certificate]$ oc create secret tls nginx-secret --cert main.crt --key app.key

secret/nginx-secret created
2. Verify that the secret has been created
[victor@sno certificate]$ oc get secret

NAME                       TYPE                                  DATA   AGE
builder-dockercfg-v7r6r    kubernetes.io/dockercfg               1      18h
builder-token-lr6dr        kubernetes.io/service-account-token   4      18h
default-dockercfg-x4vct    kubernetes.io/dockercfg               1      18h
default-token-8lh97        kubernetes.io/service-account-token   4      18h
deployer-dockercfg-cstct   kubernetes.io/dockercfg               1      18h
deployer-token-mpcx2       kubernetes.io/service-account-token   4      18h
nginx-secret               kubernetes.io/tls                     2      4s
3. Mount the secret as a volume in the deployment configuration file.
[victor@sno ~]$ cat deploy.yaml
apiVersion: apps/v1
kind: Deployment
metadata:
  name: nginx-app
spec:
  template:
    metadata:
      labels:
        app: nginx
    spec:
      containers:
        - name: nginx
          image: nginx
          ports:
           - containerPort: 8080
          volumeMounts:
           - name: nginx-secret-file
             mountPath: /usr/local/etc/ssl/certs
             readonly: true
      volumes:
        - name: nginx-secret-file
          secret:
            secretName: nginx-secret
  selector:
    matchLabels:
      app: nginx

---
apiVersion: v1
kind: Service
metadata:
  name: nginx-app
spec:
  selector:
    app: nginx
  ports:
   - name: https
     port: 8443
     targetPort: 8443
     protocol: TCP
   - name: http
     port: 80
     targetPort: 8080
     protocol: TCP
4. Create the deployment
[victor@sno ~]$ oc create -f deploy.yaml

deployment.apps/nginx-app created
service/nginx-app created
5. Verify that the deployment is created.
[victor@sno ~]$ oc get pods

NAME                        READY   STATUS    RESTARTS   AGE
nginx-app-bbf74bf87-7fvv7   1/1     Running   0          9s
[victor@sno ~]$ oc get deployment
NAME READY UP-TO-DATE AVAILABLE AGE
nginx-app 1/1 1 1 20s[victor@sno ~]$ oc get svc
NAME TYPE CLUSTER-IP EXTERNAL-IP PORT(S) AGE
nginx-app ClusterIP 10.217.4.190 <none> 8443/TCP,80/TCP 27s6. Verify that the volume is mounted inside the container
[victor@sno ~]$ oc describe pod nginx-app-bbf74bf87-7fvv7 |grep Mounts

    Mounts:
[victor@sno ~]$ oc describe pod nginx-app-bbf74bf87-7fvv7 |grep -A4 Mounts
Mounts:
/usr/local/etc/ssl/certs from nginx-secret-file (rw)
/var/run/secrets/kubernetes.io/serviceaccount from kube-api-access-2rm5w (ro)
Conditions:
Type Status7. Create the pass-through route
[victor@sno ~]$ oc create route passthrough nginx-app --service nginx-app --port 8443

route.route.openshift.io/nginx-app created
8. Verify that the route has been created
[victor@sno ~]$ oc get routes
NAME HOST/PORT PATH SERVICES PORT TERMINATION WILDCARD
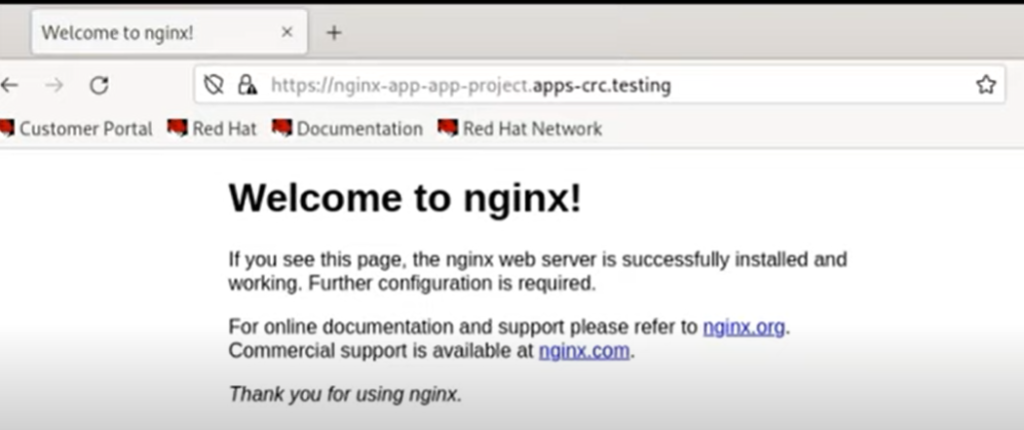
nginx-app nginx-app-app-project.apps-crc.testing nginx-app 8443 passthrough None9. Copy the URL and paste on your local browser to test
Watch Video On How To Create Secure Route With Certificate in OpenShift
EX280 Exam Practice Questions on How To Create Secure Route With Certificate in OpenShift
RHCSA/ex200 Exam Practice Questions
If you need other exam practice questions, please email info@tekneed.com
secure route with certificate in OpenShift
Leave a Reply